https://alselectro.wordpress.com/2016/11/29/esp8266-wifi-library-on-arduino-ide/
ESP8266–WiFi library on Arduino IDE
In the previous post we’ve seen how to program ESP8266 using Arduino IDE by installing the Boards Manager.
This post is on using the powerful ESP8266 WiFi Library which is automatically installed while using the Boards Manager.When you proceed with the board package for the ESP8266,as explained in previous post, the ESP8266 WiFi library is automatically installed for you.
Now, any time you want to use the classes and the functions from that ESP8266 WiFi library, use the Include statement at the top of the program first, followed by the header name
#include <ESP8266WiFi.h>
at the starting of Arduino code & start using the Classes associated with this library.
ESP8266 WiFi library is designed after the the standard Arduino WiFi library but has even more functionality than the standard Arduino library .The standard Arduino WiFi library is used for the WiFi shield or with the Arduino boards like YUN with inbuilt WiFi.
With the introduction of ESP8266 , the WiFi functionality has become much cheaper & easy to use.
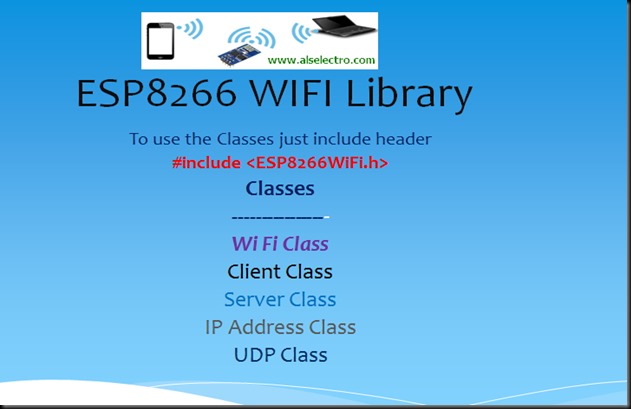
The WiFi library has many classes that you can use. Each class has functions in it that are specific to that class. There’s the WiFi class, the IP address class, the server class, the client class and the UDP class.
In this post we’re going to explore the WiFi class & its functions.
The WiFi class allows to establish a connection with an access point.
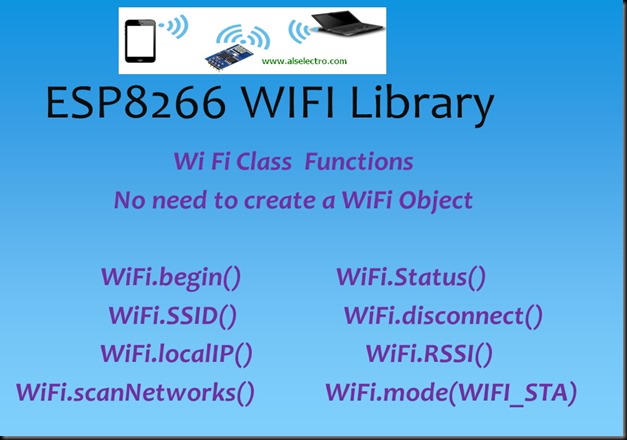
What’s cool about the WiFi class is that we don’t have to create an instance of this class. We can go ahead and start using it. It’s like the serial library of Arduino. We don’t need to create an instance of the serial library.
First Function of the library is WiFi.begin().
The usage of this function is similar to our Serial.begin().
Just like Serial.begin() , we use WiFi.begin() .WiFi.begin() requires 2 strings as arguments. You need to pass the SSID and the password of the Access point you wish to connect.You need to pass the arguments as character arrays or strings with a lower case s.
WiFi.begin(ssid,pass);
The possible return values are
WL_CONNECTED after successful connection is established with the Access PointWL_IDLE_STATUS when Wi-Fi is in process of changing between statusesWL_NO_SSID_AVAIL in case configured SSID cannot be reachedWL_CONNECT_FAILED if password is incorrectWL_DISCONNECTED if module is not configured in station mode
The status function in the WiFi class, doesn’t take any arguments but it returns stuff depending on the status of the network that you’re connected to.
Usually, first, you call WiFi.begin, you pass the SSID and the password because you’re trying to establish a connection with the network. Then, what you do is you wait in a loop until WiFi.status returns the value WL_CONNECTED.
——————————
WiFi.begin(ssid,password);
while (WiFi.status() != WL_CONNECTED)
{
delay(500);
Serial.print(“.”);
}
——————————
WiFi.SSID();
WiFi.SSID doesn’t take any arguments but it returns the name of the SSID that you’re connected to.
WiFi.RSSI()
Returns the current signal strength in dB
WiFi.scanNetworks()
Returns the number of discovered networks.It will not list the network names , but returns the number of networks.
WiFi.macAddress()
Returns the MAC address of the ESP device
There is a specific function available to print out key Wi-Fi diagnostic information:
WiFi.printDiag(Serial);
Here is a sample sketch to demonstrate the WiFi library.
—————————————————-
#include <ESP8266WiFi.h>
void setup()
{
Serial.begin(115200);
Serial.println();
{
Serial.begin(115200);
Serial.println();
//disconnect any previous connections
WiFi.disconnect();
delay(1000);
WiFi.disconnect();
delay(1000);
//scan for number of nearby networks & print SSIDs
Serial.print("Nearbyorks found :");
Serial.println(WiFi.scanNetworks());
delay(500);
Serial.println(WiFi.scanNetworks());
delay(500);
Serial.println("List of surrounding Network SSIDs…:");
int n = WiFi.scanNetworks();
for (int i = 0; i < n; i++)
{
Serial.println(WiFi.SSID(i));
}
Serial.println();
int n = WiFi.scanNetworks();
for (int i = 0; i < n; i++)
{
Serial.println(WiFi.SSID(i));
}
Serial.println();
//connect to preferred SSID
WiFi.begin("SARAVANA-ACTypass123");
WiFi.begin("SARAVANA-ACTypass123");
Serial.println("Connecting");
while (WiFi.status() != WL_CONNECTED)
{
delay(500);
Serial.print(".");
}
Serial.println();
while (WiFi.status() != WL_CONNECTED)
{
delay(500);
Serial.print(".");
}
Serial.println();
// print SSID name,local IP allotted ,MAC address & signal strength
Serial.println();
Serial.print("ConnectedSID : ");
Serial.println(WiFi.SSID());
Serial.print("ConnectedSID : ");
Serial.println(WiFi.SSID());
Serial.print("IPess allotted to ESP : ");
Serial.println(WiFi.localIP());
Serial.print("MACess of ESP : ");
Serial.println(WiFi.macAddress());
Serial.println(WiFi.localIP());
Serial.print("MACess of ESP : ");
Serial.println(WiFi.macAddress());
Serial.print("Signalngth is : ");
Serial.println(WiFi.RSSI());
Serial.println(WiFi.RSSI());
}
void loop()
{
}
{
}
——————————————————–
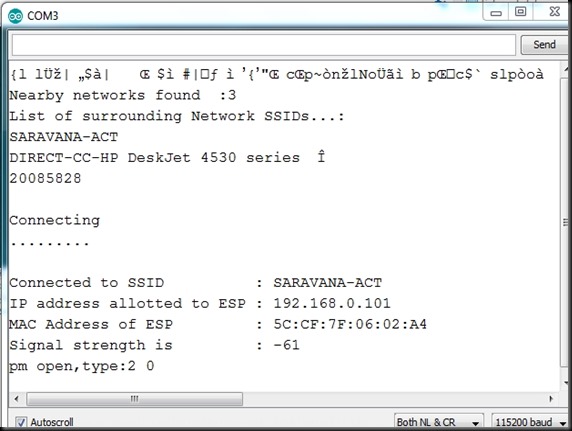
The screenshot shows the result in the serial monitor of Arduino IDE
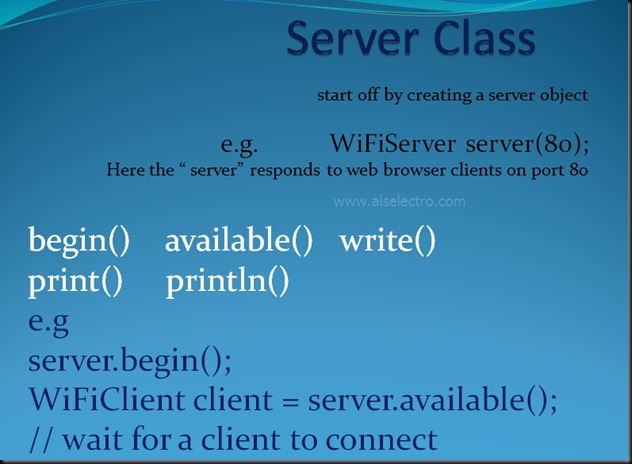
The Client & Server classes & their methods are shown in screen shots below :
Download PDF tutorial file for the WiFi library from


沒有留言:
張貼留言