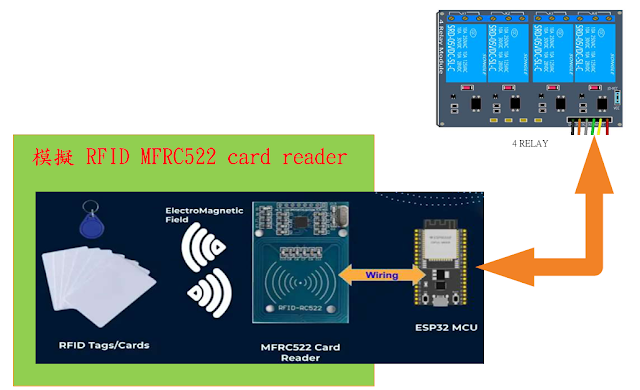
Telegram: Control ESP32 Outputs
源自於 https://randomnerdtutorials.com/telegram-control-esp32-esp8266-nodemcu-outputs/
Creating a Telegram Bot
Go to Google Play or App Store, download and install Telegram.

Open Telegram and follow the next steps to create a Telegram Bot. First, search for “botfather” and click the BotFather as shown below. Or open this link t.me/botfather in your smartphone.

The following window should open and you’ll be prompted to click the start button.

Type /newbot and follow the instructions to create your bot. Give it a name and username.

If your bot is successfully created, you’ll receive a message with a link to access the bot and the bot token. Save the bot token because you’ll need it so that the ESP32/ESP8266 can interact with the bot.

Get Your Telegram User ID
Anyone that knows your bot username can interact with it. To make sure that we ignore messages that are not from our Telegram account (or any authorized users), you can get your Telegram User ID. Then, when your telegram bot receives a message, the ESP can check whether the sender ID corresponds to your User ID and handle the message or ignore it.
In your Telegram account, search for “IDBot” or open this link t.me/myidbot in your smartphone.

Start a conversation with that bot and type /getid. You will get a reply back with your user ID. Save that user ID, because you’ll need it later in this tutorial.


沒有留言:
張貼留言