Learn to make your own MQTT based Event Management System using esp8266 and RFID which also includes setting up an AP on NodeMCU.
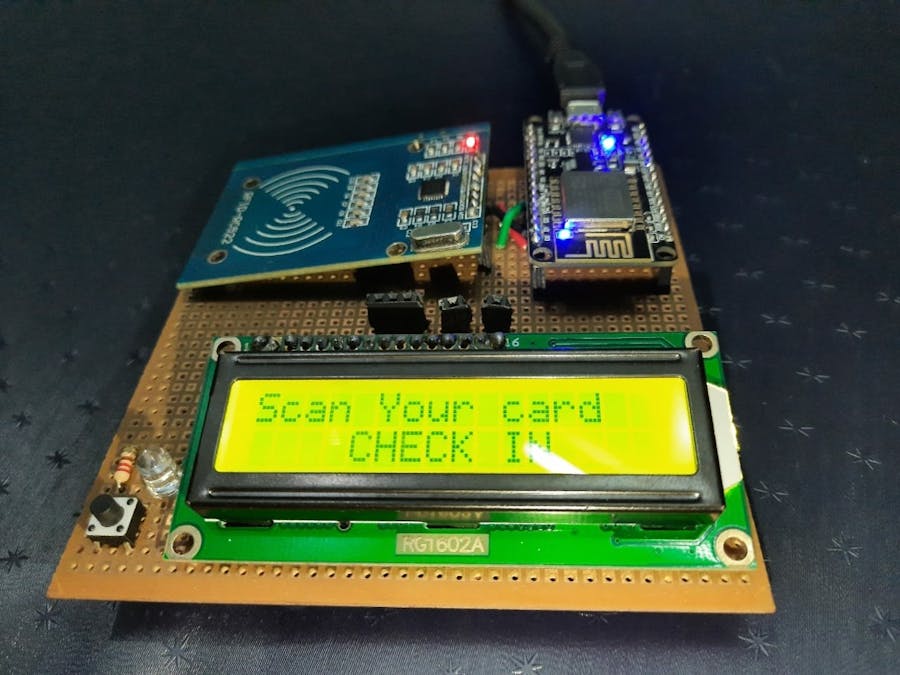
In this post, you'll learn how to build an Event Management System using RFID. NodeMCU is used for connecting with the database by setting up an AP which can be configured to connect to any APs and the protocol used here for sending the UID of the scanned RFID tag to the database is MQTT.
The device works in 2 modes:
1. Registration mode: In this mode, a new RFID tag can be scanned, it's UID is sent to the backend which will return a randomly generated unique password for that UID, which is displayed by the LCD, which can be later on used by the user to complete the registration process online.
2.Check-in mode: In this mode, if the scanned RFID tag has already registered for a particular event then "ACCESS GRANTED" will be displayed on the LCD, otherwise "ACCESS DENIED" will be displayed.
The LCD display will also display the current mode of the device.
The default mode is REGISTRATION. To switch between the two modes a push-button is used.
SCHEMATICS:
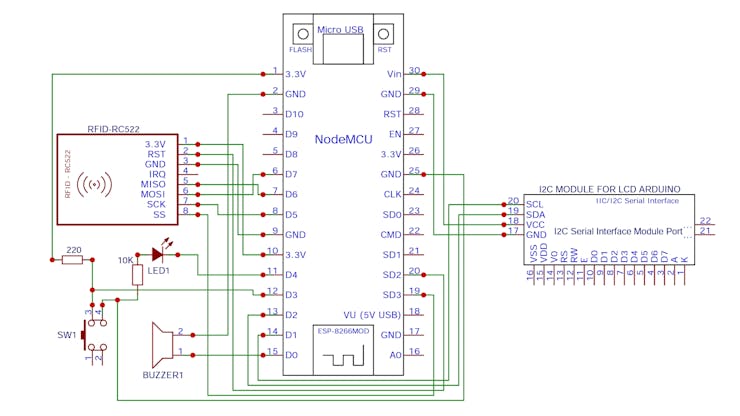
After making the above connections, follow these steps:
1. Configuring the MQTT details
Register an account in CloudMQTT.com. Then create a new Instance - free plan. Once you create the instance, note down the Server/Hostname, Username, Password and Port No for your instance.
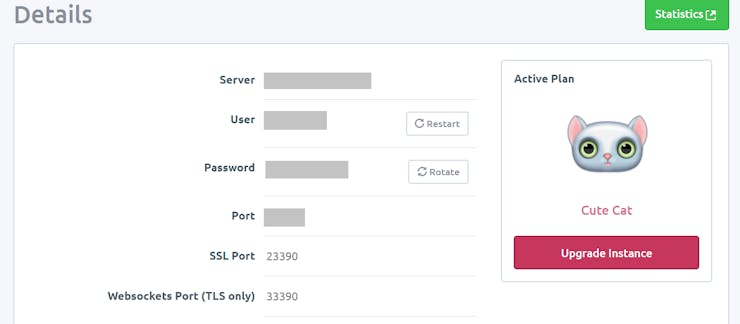
Change the details you noted in this Arduino program. Feel free to change the topic name as you like it.
Install an MQTT application on your mobile phone and create a new connection using your CloudMQTT credentials.
Accordingly, change the MQTT credentials in the code.
const char* mqtt_user = ""; //your mqtt username
const char* mqtt_pass = ""; //your mqtt password
int mqtt_port =  ; //port number
const char* mqtt_server = ""; //your server name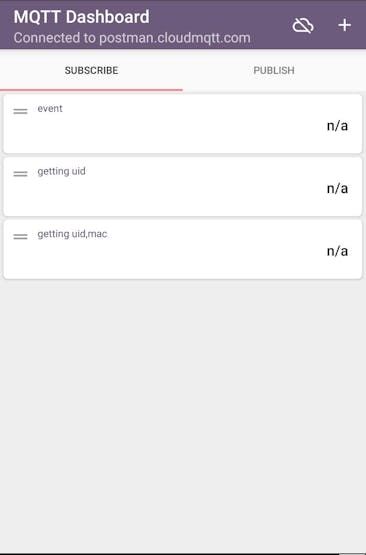
In the Subscribe section of your mobile MQTT app, add a value to subscribe by pressing on the + icon at the top-right corner and enter the details. A sample of the same is shown above. You can give any field name and any topic name. Leave the unit field empty.
_hUD5NVNkvn.jpeg?auto=compress%2Cformat&w=740&h=555&fit=max)
Go to Publish tab and create a few( =2 according to the program) text fields by clicking on the + icon on the top-right corner of the window in your mobile application as shown in the images above. You can change their names and topics as you like.
Accordingly, change the topic names in the code.
const char* subtopic = "inTopic"; //replace this with your intopic name
const char* pubtopic = "outTopic"; //replace this with your outtopic name
const char* subtopic2 = "inTopic2"; //replace this with your intopic name
const char* pubtopic2 = "outTopic2"; //replace this with your outtopic name
Connect to the AP set up by the nodeMCU and configure it as shown below:
_JoNytFJyV1.png?auto=compress%2Cformat&w=740&h=555&fit=max)
Click on the configure WiFi.
_WIUWHJmZiM.png?auto=compress%2Cformat&w=740&h=555&fit=max)
Select an AP or specify it's SSID and password.
After the NodeMCU is connected to the internet it will attempt MQTT connection and wait for an RFID TAG to be scanned.
3. Scan an RFID TAG and try out the different modes.
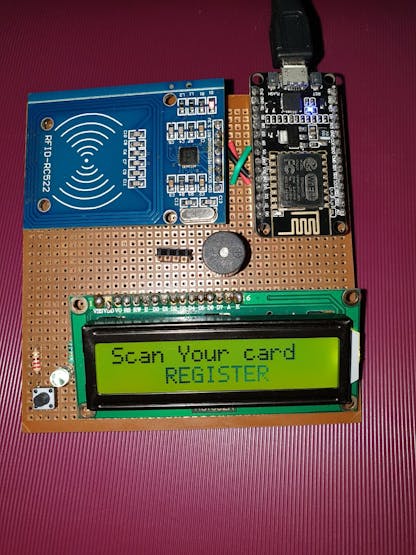
Default mode
Upon scanning an RFID tag you'll see it's UID being displayed on the MQTT app subscribe section. You can send any random password through publish section of the app to display the password as shown below.
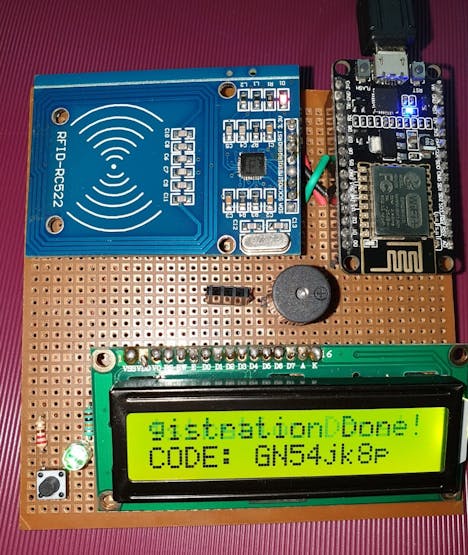
Password displayed in registration mode upon scanning a card.
Press the push button to change the mode and scan a card. Send 1 through MQTT app to display "Access Granted" and 0 to display "ACCESS DENIED".
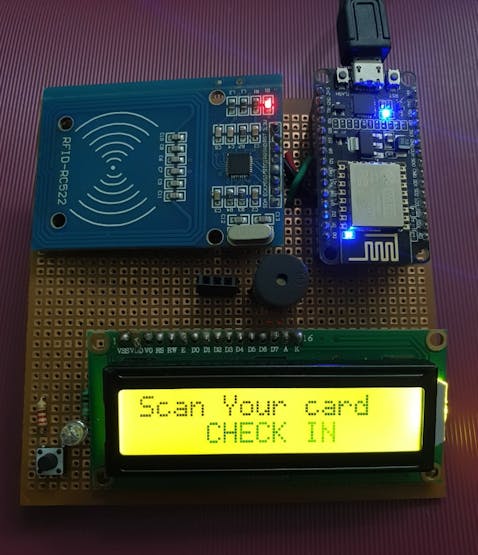
Check-In Mode
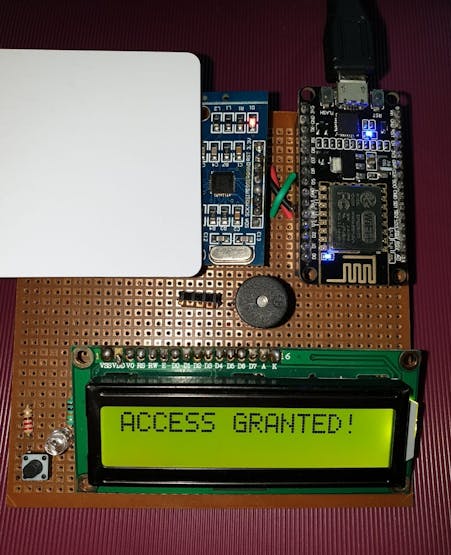
Upon receiving 1 through the MQTT connection.
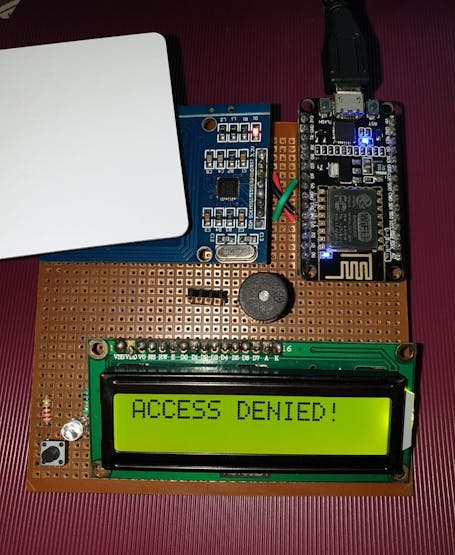
Upon receiving 0 through the MQTT connection.
Code


沒有留言:
張貼留言