NodeMCU Lesson 9 — Light Sensor & MQTT
Introduction
In this lesson, we will show how to use NodeMCU to get real-time light strength data from the light sensor , then publish these datas to a MQTT broker via MQTT protocol,so we can subscribe to these messages by MQTT client.
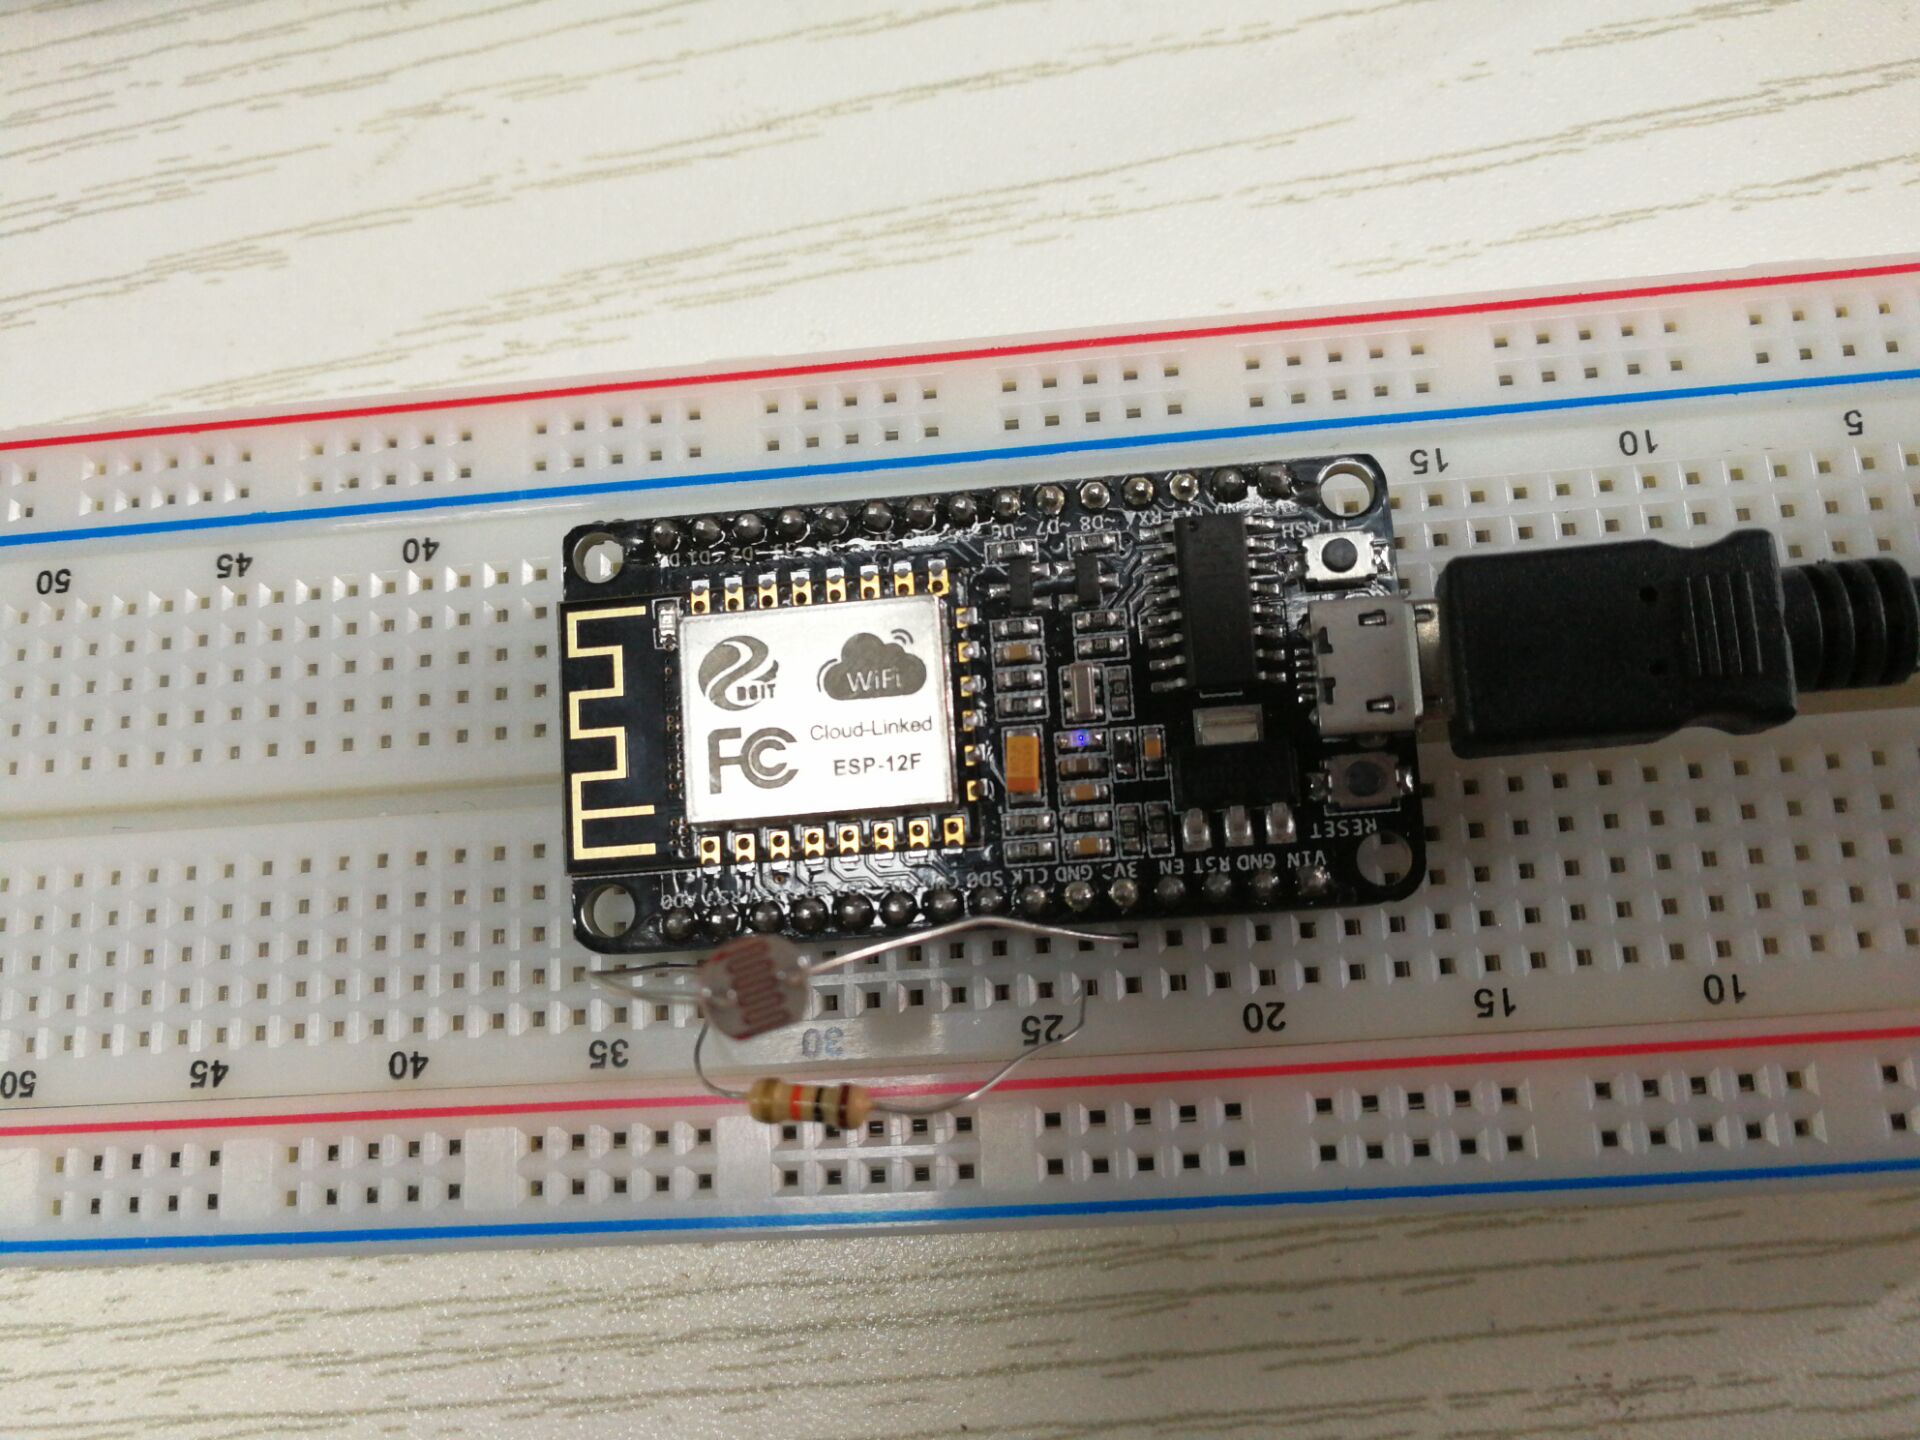
Preparation
Hardware:
- NodeMCU board x 1
- Light Sensor x 1
- Breadboard x 1
- 1k Resistor x 1
- Jumper wires
Software:
- Arduino IDE(version 1.6.4+)
- ESP8266 Board Package and the Serial Port Driver
- MQTT Client(MQTTBox here)
- Arduino library: PubSubClient
Connection

Upload Sketch
Connect the NodeMCU to computer via USB cable,open this sketch by using Arduino IDE(Version1.6.4+):

Edit the code to fit your own WiFi and MQTT settings as following operations:
1)Hotspot Configration:
const char* ssid = "your_hotspot_ssid";
const char* password = "your_hotspot_password";
Find above code line,put your own ssid and password on there.
2)MQTT Server Address Setting
const char* mqtt_server = "broker.mqtt-dashboard.com";
You can use your own MQTT broker URL or IP address to set above mqtt_server value. You can also use some famous free MQTT server to test the project such as "broker.mqtt-dashboard.com", "iot.eclipse.org" etc.
3)MQTT Client Settings
If your MQTT broker require clientID,username and password authentication,you need to change
if (client.connect(clientId.c_str()))
to
if (client.connect(clientId,userName,passWord)) //put your clientId/userName/passWord here
If not,just keep them as default.
After do that,choose the coresponding board type and port type as below,then upload the sketch to the NodeMCU.
- Board:"NodeMCU 0.9(ESP-12 Module)"
- CPU Frequency:"80MHz"
- Flash Size:"4M (3M SPIFFS)"
- Upload Speed:"115200"
- Port: Choose your own Serial Port for your NodeMCU

MQTT Client Settings
About how to config the MQTT client,check this link.
Topics Settings:
- Topic to publish: OsoyooCommand
- Topic to subscribe: OsoyooData
Running Result
Onece the upload done,if wifi hotspot ssid and password setting is ok, all the connections are normal, open the Serial Monitor,you will see following result:the NodeMCU serial port keep output real-time light strength data every 0.5 second,and these messages will be published to the MQTT broker via MQTT protocol,then they will be subscribed by the MQTT client.
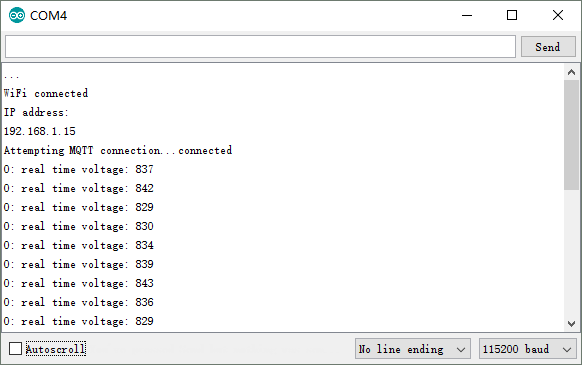
At the same time,open the MQTT client, choose the subscribe topic "OsoyooData" and click "Subcribe" button, the MQTTBox will subscribe to this topic, so you will see the real-time light strength data as below:


沒有留言:
張貼留言