ESP8266 Arduino WiFi Web Server LED on off control
In this tutorial, I am going to tell you about controlling LED using web server over WiFiusing ESP8266 module or NodeMCU. So let’s start. In this tutorial we are using onboard LED of NodeMCU. If you are using different hardware you can connect led to GPIO2 or make changes in code as per your connection.
There are many ways to control LED over WiFi. We will go from basic to advance method of controlling LED using WiFi.
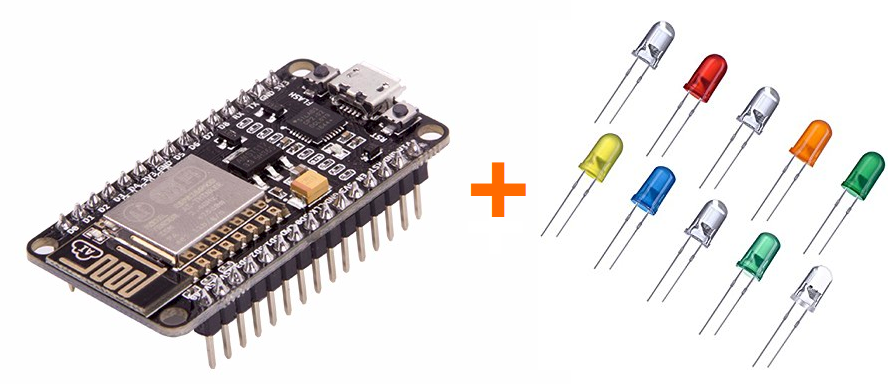
Method 1: ESP8266 NodeMCU as LED Web Server
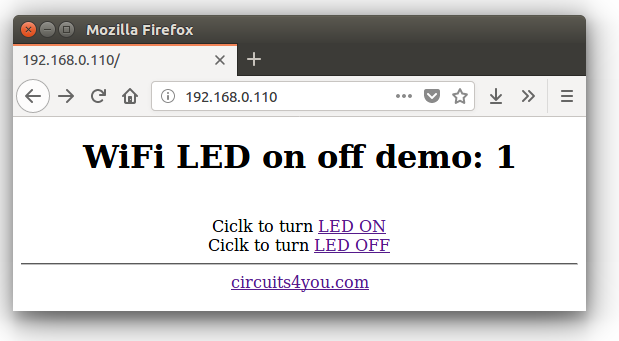
In this method we create ESP8266 as WebServer to control on board LED through a web page. Read More on Creating Web Server with HTML in ESP8266.
In this we use two HTML link tags to turn on LED and Turn Off LED. For this we need three web locations on ESP i.e. we create server on three locations using serveron command.
First is to display the user interface, second and third to turn LED on and Off.
Arduino IDE code for ESP8266 WiFi LED on off
Make changes in WiFi configuration. Enter your WiFi router ssid and password. Program is well commented copy and paste it in Arduino IDE. To install ESP8266 NodeMCU board read this.
Testing
Once the code is uploaded. open serial monitor and note down the IP address. Enter the same ip address in web browser to open web page. In this demo you will find that, you need to press back button. This can be avoided using iframe to open the link.
<iframe name=”myIframe” width=”100″ height=”25″ frameBorder=”0″><br>
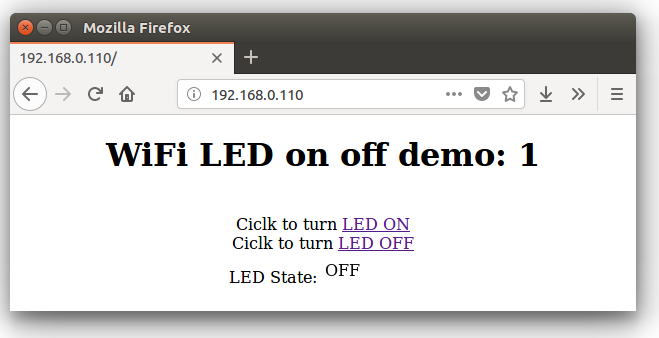
ESP8266 LED control without page leaving and get status
In this code we use Iframe. that will open the led status page in a frame. without leaving main page.
Results


沒有留言:
張貼留言